Hey there, snow warriors! If you're like me, you know that a single stage snow blower can be a real game - changer when winter hits hard. I'm a supplier of single stage snow blowers, and I've seen firsthand how these machines can make snow removal a breeze. But before you can start clearing that driveway, you need to know how to prime your single stage snow blower. In this blog, I'll walk you through the process step - by - step.
Why Priming is Important
First off, let's talk about why priming is necessary. Priming a single stage snow blower helps to get fuel into the carburetor. The carburetor is like the heart of your snow blower's engine. It mixes air and fuel in the right proportions so that the engine can start and run smoothly. Without proper priming, your engine might not start at all, or it could sputter and die soon after starting.
Step 1: Safety First
Before you do anything, make sure your snow blower is turned off and cooled down. You don't want to accidentally start the machine while you're working on it. Also, wear appropriate safety gear like gloves and safety glasses. You'll be dealing with fuel, and you don't want it to get in your eyes or on your skin.
Step 2: Locate the Primer Bulb
Most single stage snow blowers have a primer bulb. It's usually a small, rubbery bulb located near the carburetor. On some models, it might be on the side of the engine, and on others, it could be on the front. If you're having trouble finding it, check your snow blower's user manual.
Step 3: Prime the Snow Blower
Once you've found the primer bulb, it's time to start priming. Here's how to do it:
-
Press the Primer Bulb: Firmly press the primer bulb several times. Usually, 3 - 5 presses are enough, but it can vary depending on the model of your snow blower. Each time you press the bulb, you're forcing fuel from the fuel tank into the carburetor. You might see a small amount of fuel in the bulb as you press it. That's a good sign that fuel is moving through the system.
-
Wait a Bit: After you've pressed the primer bulb, wait a few seconds. This gives the fuel time to settle in the carburetor. You don't want to rush the process.
-
Check for Leaks: While you're waiting, take a quick look around the primer bulb and the fuel lines. Make sure there are no fuel leaks. If you see any fuel dripping or pooling, stop what you're doing and fix the problem before you try to start the snow blower.
Step 4: Choke (if Necessary)
Some single stage snow blowers have a choke. The choke restricts the air intake, which makes the fuel - air mixture richer. This is helpful when starting a cold engine. If your snow blower has a choke, set it to the "choke" position before you try to start the engine. Once the engine has started and is running for a few minutes, you can gradually move the choke to the "run" position.
Step 5: Start the Snow Blower
Now that you've primed the snow blower and set the choke (if needed), it's time to start the engine. Follow these steps:
-
Pull the Starter Cord: Most single stage snow blowers have a pull - start mechanism. Grasp the starter cord firmly and give it a quick, smooth pull. You might need to pull it a few times before the engine starts.
-
Listen to the Engine: Once the engine starts, listen to how it sounds. It should run smoothly without sputtering or stalling. If the engine doesn't start after a few tries, you might need to prime it again or check for other issues like a clogged air filter or a problem with the spark plug.

Different Models, Different Needs
Keep in mind that different models of single stage snow blowers might have slightly different priming procedures. For example, some newer models might have an electric primer instead of a manual primer bulb. If you have one of these models, follow the instructions in your user manual carefully.
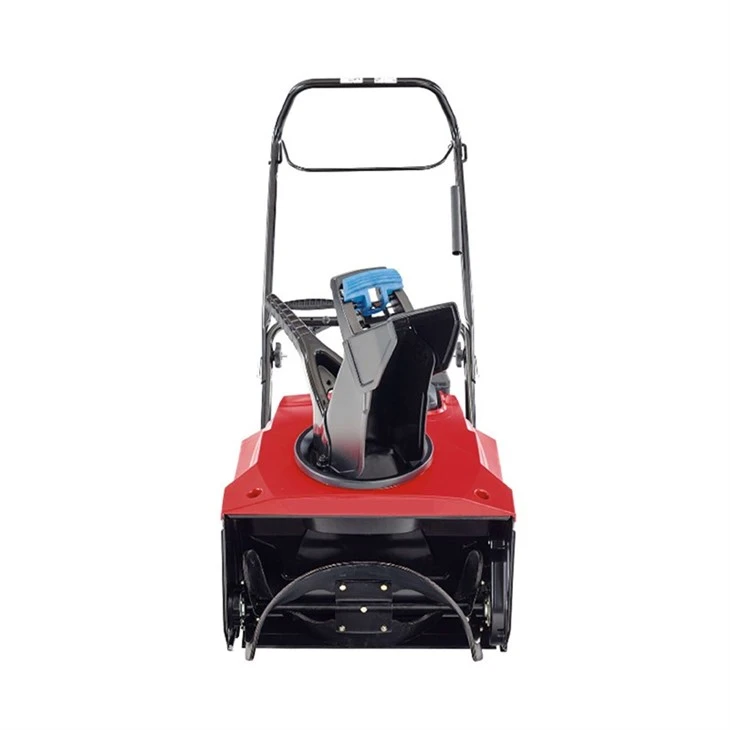
We offer a wide range of single stage snow blowers, like the 24 - in 212cc Highest Rated Single Stage Gas Power Stroke Snow Blower. This powerful machine is great for medium - sized driveways and sidewalks. Also, check out the Select 21 - in 212cc Single Stage Gas Craftsman Snowblower, which is known for its reliability and ease of use. And if you have a smaller area to clear, the Certified Small 21 Inch Gas Single Stage Snow Blower could be the perfect choice.
Maintenance Tips
Priming is just one part of keeping your single stage snow blower in good shape. Here are some maintenance tips to keep in mind:
-
Change the Oil: Regularly change the oil in your snow blower's engine. This helps to keep the engine lubricated and running smoothly. Check your user manual for the recommended oil change interval.
-
Clean the Air Filter: A dirty air filter can restrict airflow to the engine, which can cause starting problems and poor performance. Clean or replace the air filter as needed.
-
Inspect the Spark Plug: The spark plug is responsible for igniting the fuel - air mixture in the engine. Check the spark plug regularly and replace it if it's worn or damaged.
Conclusion
Priming a single stage snow blower isn't rocket science, but it's an important step to ensure that your machine starts and runs properly. By following these steps and doing some basic maintenance, you'll be able to clear snow quickly and easily all winter long.
If you're in the market for a new single stage snow blower or have any questions about priming or maintenance, don't hesitate to reach out. We're here to help you find the perfect snow blower for your needs and get the most out of it. Let's make this winter a breeze with the right snow - clearing equipment!
References
- Manufacturer's user manuals for single stage snow blowers
- Personal experience as a single stage snow blower supplier