

As a supplier of self - propelled lawn mowers, I often receive inquiries from customers about various aspects of these machines, and one common question is how to replace the battery in a battery - powered self - propelled lawn mower. In this blog post, I'll guide you through the process step by step.
Understanding Your Battery - Powered Self - Propelled Lawn Mower
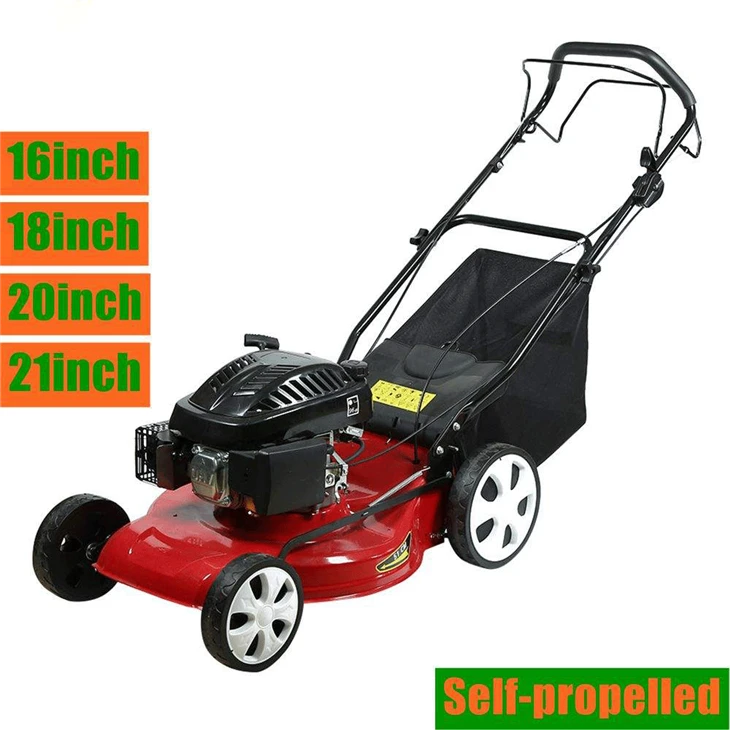
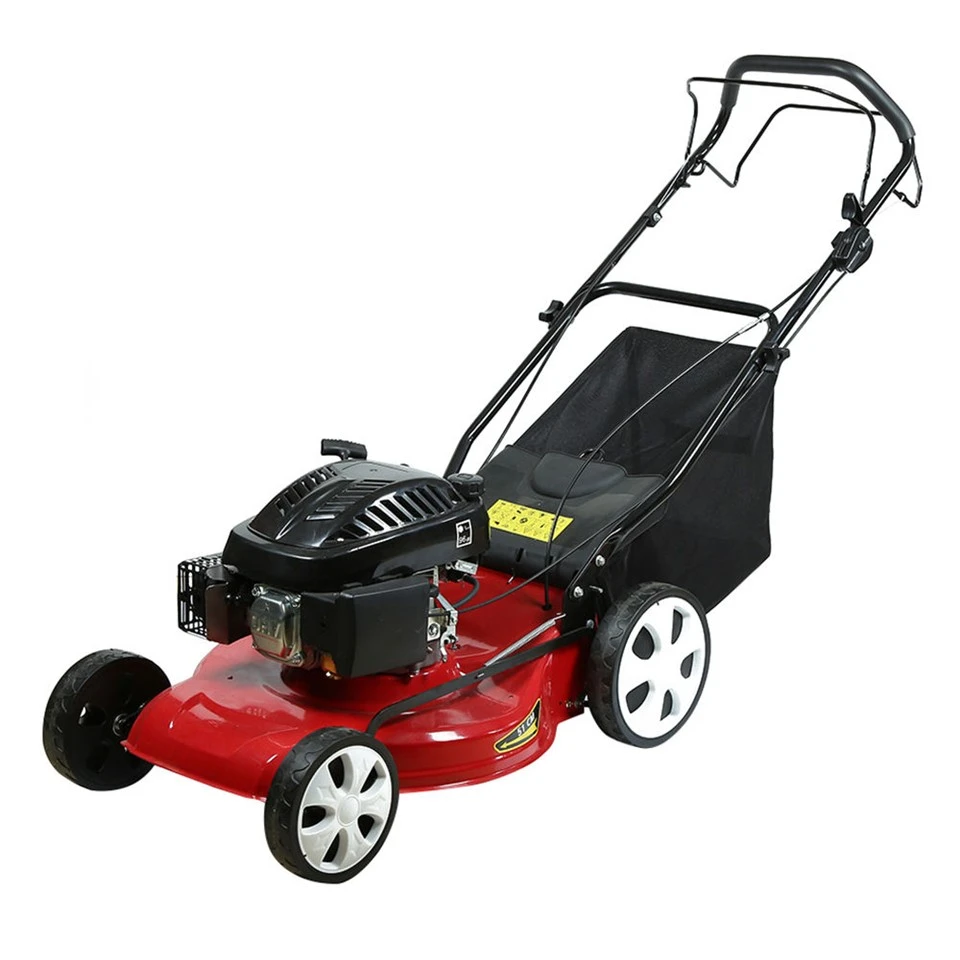
Before you start replacing the battery, it's crucial to have a basic understanding of your lawn mower. Different models may have different battery types, sizes, and installation mechanisms. For example, some popular models like the 173cc 21 - in Gas Self - propelled Reel Lawn Mower and Craftsman Store 163cc 22 - in Gas Self - propelled Lawn Mower are gas - powered, but there are also many battery - powered counterparts in the market.
Battery - powered self - propelled lawn mowers are known for their quiet operation, low maintenance, and environmental friendliness. They typically use lithium - ion batteries, which offer high energy density, long cycle life, and relatively low self - discharge rates.
Tools You'll Need
To replace the battery in your lawn mower, you'll need the following tools:
- Safety Gloves: Protect your hands from any sharp edges or potential electrical hazards.
- Screwdriver: Depending on your lawn mower model, you may need a Phillips or flat - head screwdriver to remove the battery compartment cover.
- New Battery: Make sure to purchase a battery that is compatible with your lawn mower. Check the manufacturer's specifications for the correct voltage, capacity, and size.
Step - by - Step Battery Replacement Process
Step 1: Safety First
Before you begin any work on your lawn mower, ensure that it is turned off and unplugged (if it has a charger connected). Wear your safety gloves to protect your hands.
Step 2: Locate the Battery Compartment
The battery compartment is usually located on the side or at the back of the lawn mower. Refer to your owner's manual if you're having trouble finding it. Some models may have a visible latch or a cover that needs to be removed to access the battery.
Step 3: Remove the Battery Compartment Cover
Use your screwdriver to remove the screws holding the battery compartment cover in place. Place the screws in a safe place so you don't lose them. Gently lift off the cover and set it aside.
Step 4: Disconnect the Old Battery
Once the cover is removed, you'll see the battery. Most batteries are connected to the lawn mower with a set of wires and a connector. Carefully disconnect the wires from the battery by gently pulling on the connector. Be sure not to pull on the wires themselves, as this could damage them.
Step 5: Remove the Old Battery
After disconnecting the wires, you can remove the old battery from the compartment. Lift it out carefully, taking note of its orientation. Some batteries may be held in place with a strap or a bracket. If so, release the strap or remove the bracket before lifting the battery out.
Step 6: Prepare the New Battery
Before installing the new battery, make sure it is fully charged. Check the battery for any visible damage or defects. If everything looks good, you're ready to install it.
Step 7: Install the New Battery
Place the new battery in the compartment, following the same orientation as the old battery. Make sure it fits snugly and is properly seated. If there is a strap or a bracket, secure the battery in place.
Step 8: Reconnect the Wires
Connect the wires to the new battery by inserting the connector into the appropriate port on the battery. Make sure the connection is secure. You should hear a click when the connector is properly seated.
Step 9: Replace the Battery Compartment Cover
Once the battery is installed and the wires are connected, place the battery compartment cover back on the lawn mower. Align the cover with the compartment and use your screwdriver to replace the screws. Tighten the screws securely, but be careful not to overtighten them.
Step 10: Test the Lawn Mower
After replacing the battery, turn on the lawn mower to test it. Make sure it starts up properly and that all the functions are working as they should. If you encounter any problems, double - check your work and refer to your owner's manual for troubleshooting tips.
Tips for Battery Maintenance
- Charge Regularly: Lithium - ion batteries perform best when they are charged regularly. Avoid letting the battery completely discharge before recharging it.
- Store Properly: If you're not going to use your lawn mower for an extended period, store the battery in a cool, dry place. Make sure it is partially charged (around 50%) to prevent over - discharging.
- Clean the Battery Contacts: Over time, the battery contacts may become dirty or corroded. Use a clean, dry cloth to wipe the contacts periodically to ensure a good connection.
Conclusion
Replacing the battery in a battery - powered self - propelled lawn mower is a relatively simple process that can be done with a few basic tools. By following the steps outlined in this blog post, you can ensure that your lawn mower continues to operate efficiently.
If you're in the market for a new self - propelled lawn mower or need replacement parts, we're here to help. As a leading supplier of self - propelled lawn mowers, we offer a wide range of high - quality products at competitive prices. Whether you're a professional landscaper or a homeowner looking to maintain a beautiful lawn, we have the right lawn mower for you. Contact us today to start a procurement discussion and find the perfect solution for your needs.
References
- Lawn Mower Owner's Manuals
- Battery Manufacturer's Specifications