

Hey there, snow warriors! As a supplier of two - stage snow blowers, I've seen my fair share of these powerful machines in action. One of the most common questions I get from customers is how to adjust the skid shoes on a two - stage snow blower. Well, you're in luck because I'm going to break it down for you in this blog.
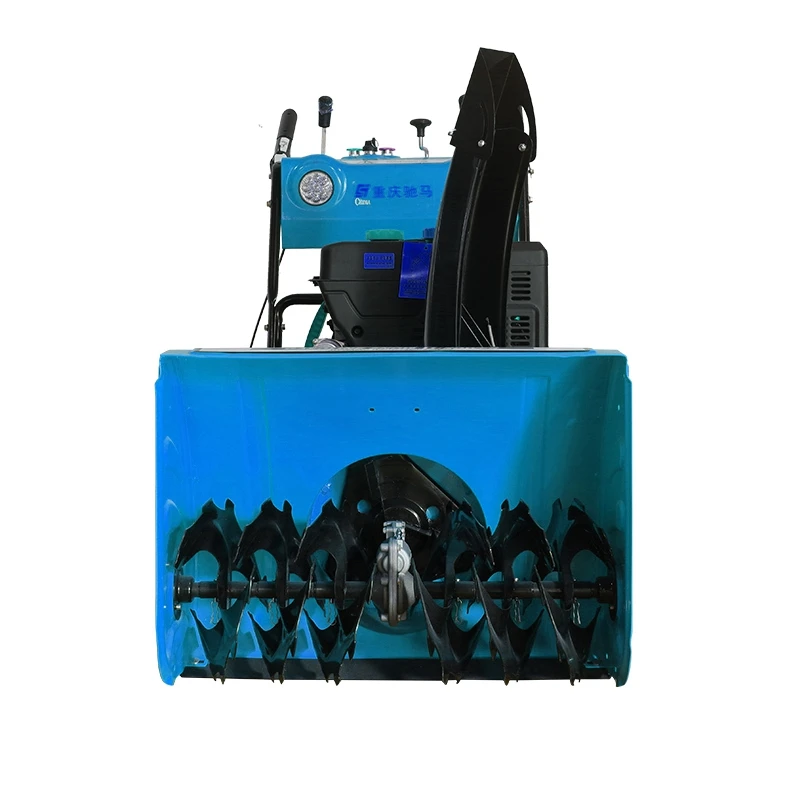
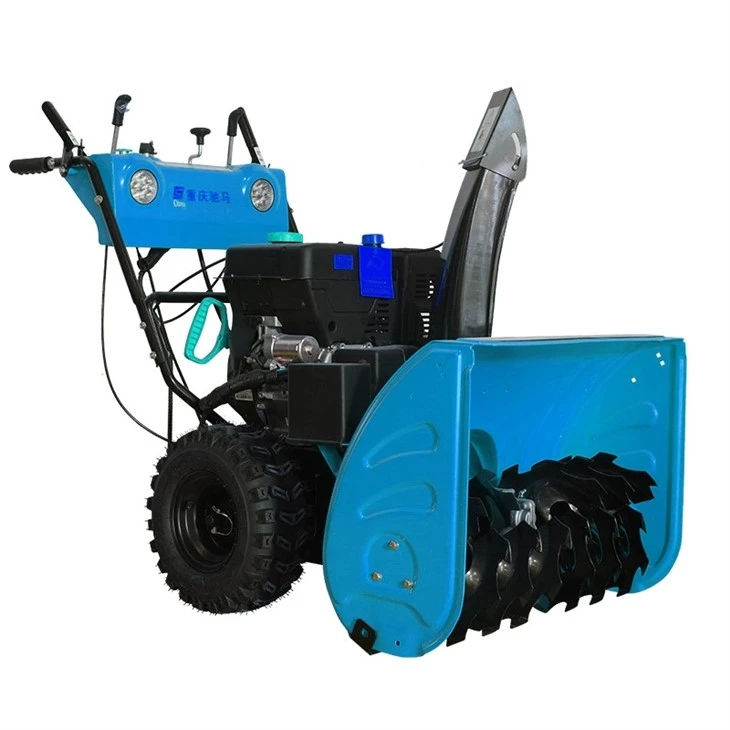
First off, let's talk about what skid shoes are and why they're so important. Skid shoes are those little metal pieces at the bottom of your snow blower. They basically act like the feet of your machine, allowing it to glide smoothly over the ground while you're clearing snow. Their main job is to keep the auger (that big spinning thing at the front) at the right height above the surface you're clearing. If they're not adjusted properly, you could end up with a whole bunch of problems.
Why Adjust Skid Shoes?
There are a few reasons why you might need to adjust your skid shoes. Maybe you're moving from clearing a smooth driveway to a bumpy gravel path. Or perhaps you've noticed that the auger is scraping the ground too much, which can cause damage to both the auger and the surface. By adjusting the skid shoes, you can ensure that your snow blower is working at its best, no matter what type of surface you're dealing with.
Tools You'll Need
Before you start adjusting the skid shoes, you'll need a few tools. You'll typically need a wrench, usually a socket wrench or an adjustable wrench. Make sure it's the right size for the bolts on your skid shoes. You might also want to have a tape measure handy to get an accurate measurement of the height you're setting.
Step - by - Step Guide to Adjusting Skid Shoes
Step 1: Safety First
Before you do anything, make sure your snow blower is turned off and the engine is cool. You don't want to accidentally start the machine while you're working on it. Also, remove the spark plug wire to prevent any accidental starts.
Step 2: Locate the Skid Shoes
The skid shoes are usually located on either side of the snow blower, at the bottom. They're attached to the frame of the machine with bolts.
Step 3: Measure the Current Height
Use your tape measure to measure the distance between the bottom of the auger and the surface you're going to be clearing. This will give you a baseline measurement. A good starting point for most surfaces is about 1/2 to 3/4 of an inch.
Step 4: Loosen the Bolts
Use your wrench to loosen the bolts that hold the skid shoes in place. Don't remove them completely, just loosen them enough so that you can move the skid shoes up or down.
Step 5: Adjust the Skid Shoes
If you need to raise the auger, you'll want to raise the skid shoes. To do this, simply turn the bolts counter - clockwise. If you need to lower the auger, turn the bolts clockwise. Make small adjustments at a time and keep checking the height with your tape measure.
Step 6: Check the Alignment
Once you've made your adjustments, make sure that the skid shoes are level. You don't want one side to be higher than the other, as this can cause the snow blower to pull to one side while you're using it.
Step 7: Tighten the Bolts
After you're satisfied with the height and alignment of the skid shoes, tighten the bolts securely. Make sure they're tight enough so that the skid shoes won't move while you're using the snow blower.
Step 8: Test the Snow Blower
Put the spark plug wire back on, start the snow blower, and take it for a test run. Pay attention to how it's working. If the auger is still scraping the ground or if it's not clearing the snow effectively, you might need to make some more adjustments.
Different Surfaces, Different Adjustments
As I mentioned earlier, different surfaces require different skid shoe adjustments.
Smooth Surfaces (e.g., Concrete Driveways)
For smooth surfaces like concrete driveways, you can set the skid shoes a little lower. A height of about 1/2 inch is usually good. This allows the auger to get close to the surface and clear the snow effectively without scraping.
Gravel Surfaces
When you're dealing with gravel surfaces, you'll want to raise the skid shoes higher. Aim for a height of about 3/4 to 1 inch. This prevents the auger from picking up gravel, which can damage the impeller and other parts of the snow blower.
Our Two - Stage Snow Blowers
At our place, we offer a wide range of two - stage snow blowers that are built to last. Check out our Lightweight Gas Powered 2 Stage Snow Blowers. They're easy to handle and pack a punch when it comes to clearing snow.
If you're looking for a specific model, our 24 Inch Lightweight Two Stage Self Propelled Snow Blower is a great choice. It's perfect for medium - sized driveways and sidewalks.
And for those who need a heavy - duty option, the Craftsman Select 24 - in 208cc Two Stage Gas Snow Blower is a beast. It can handle large amounts of snow with ease.
Contact Us for Purchasing
If you're interested in purchasing a two - stage snow blower or have any questions about adjusting skid shoes or any other maintenance issues, don't hesitate to reach out. We're here to help you make the most of your snow - clearing experience. Whether you're a first - time buyer or a seasoned snow warrior, we've got the right snow blower for you.
References
- Snow Blower Owner's Manuals
- Personal Experience as a Two - Stage Snow Blower Supplier